tree day
Guide
How to start a small kitchen garden?
Start a kitchen garden by matching a few crops to your space, season and available light, then prepare soil or containers for those specific plants. A small harvest you can use beats a crowded bed that demands more care than your routine allows.
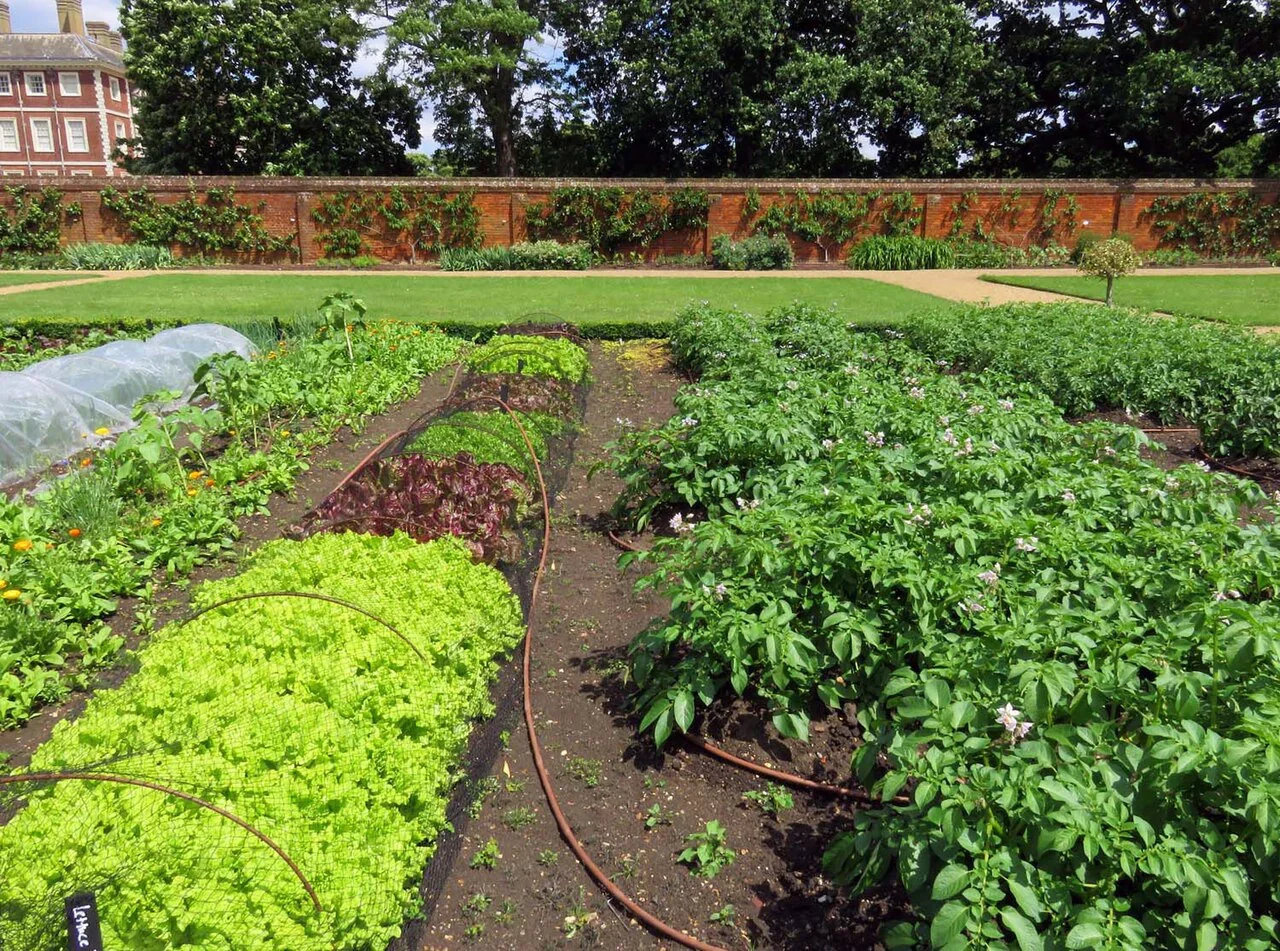
A small kitchen garden works best when its first question is not “What can I grow?” but “What will I eat, and where can it grow?” Choose one sunny patch, balcony or set of containers, check what the season allows locally, and begin with a short list of crops suited to that spot. The first goal is a manageable harvest and a clearer understanding of your soil, light and time.
Map the space before buying seeds
Note how much direct sun reaches the proposed garden and when. Buildings, fences and trees can change exposure, and conditions shift through the year. Then check your local planting calendar and frost expectations; a crop that thrives in one region or month may stall in another. If sunlight is limited, choose crops whose local growing guidance fits partial shade rather than trying to force a sun-loving fruiting plant into it.
Measure the area and decide how often you can tend it. A few containers near the kitchen may be easier to water and harvest than a larger bed at the far end of a yard. If you are using a shared or rented space, confirm where you may plant and whether containers are the practical choice.
Pick crops for meals and conditions
Make a short list based on dishes you already cook, then compare each crop's local planting season, mature size and light needs. Leafy greens, herbs or compact crops may suit a small footprint, but their fit depends on climate and variety. Avoid planting a full row of something you rarely eat just because it is easy to find as a seedling.
For a concrete example, imagine a household with a sunny balcony and room for three large pots. It could choose one herb used often, one leafy crop suited to the current season, and a third crop after checking local guidance for the balcony's heat and exposure. That plan uses space as a trial, not a promise of a particular yield.
Understand what the soil can do
In a bed, inspect the soil and observe how water moves through it before amending. Soil has inherent characteristics such as texture, depth and landscape position, alongside properties that can shift with management. The USDA Natural Resources Conservation Service describes healthy soil as a functioning ecosystem that supports plants and helps absorb, drain and store water. [1] A compacted or poorly draining patch may need a different planting approach from a loose, well-drained one.
Containers let you begin without relying on the ground beneath them, but still need an appropriate growing mix and drainage holes. Do not assume that adding a large amount of compost or fertilizer will solve every problem; first identify whether the issue is drainage, shade, crowding or a crop mismatch.
Make a simple layout and care routine
Leave room for plants to reach their mature size and for you to harvest without stepping on the bed. Put taller plants where they will not shade shorter ones, while remembering that the sun's path changes across seasons. Group plants with broadly similar conditions when that makes watering and observation easier.
Check moisture by feeling the soil or potting mix rather than applying a universal watering schedule. A container in wind or full sun can dry faster than a bed in partial shade. Keep a short note of planting date, location and what you observe; it will help distinguish a seasonal setback from a recurring site problem.
Harvest to prevent a glut
Plant quantities should reflect how often you eat a crop and how long it keeps after harvest. The EPA recommends planning purchases and meals around what a household expects to use; the same principle can guide planting. Food that is never harvested or eaten still represents water, land and other inputs. [2] Staggering a small planting, where local conditions permit, can spread the harvest instead of producing everything at once.
The common mistake is filling every available pot in the first week. Start with a few crops, see what grows and gets eaten, then add more next planting window. Your next step is to choose one spot and check local seasonal guidance before buying seeds or starts.
Follow the evidence
Primary sources used in this story. Practical examples are illustrative unless a source states otherwise.
Read our editorial standards. Have a correction? Identify the article and relevant source in your feedback to the site owner.