tree day
Guide
How to plan an accessible nature walk?
Plan an accessible nature walk around a verified route, useful rest points and clear information about surfaces and conditions, then invite participants to choose what works for them.
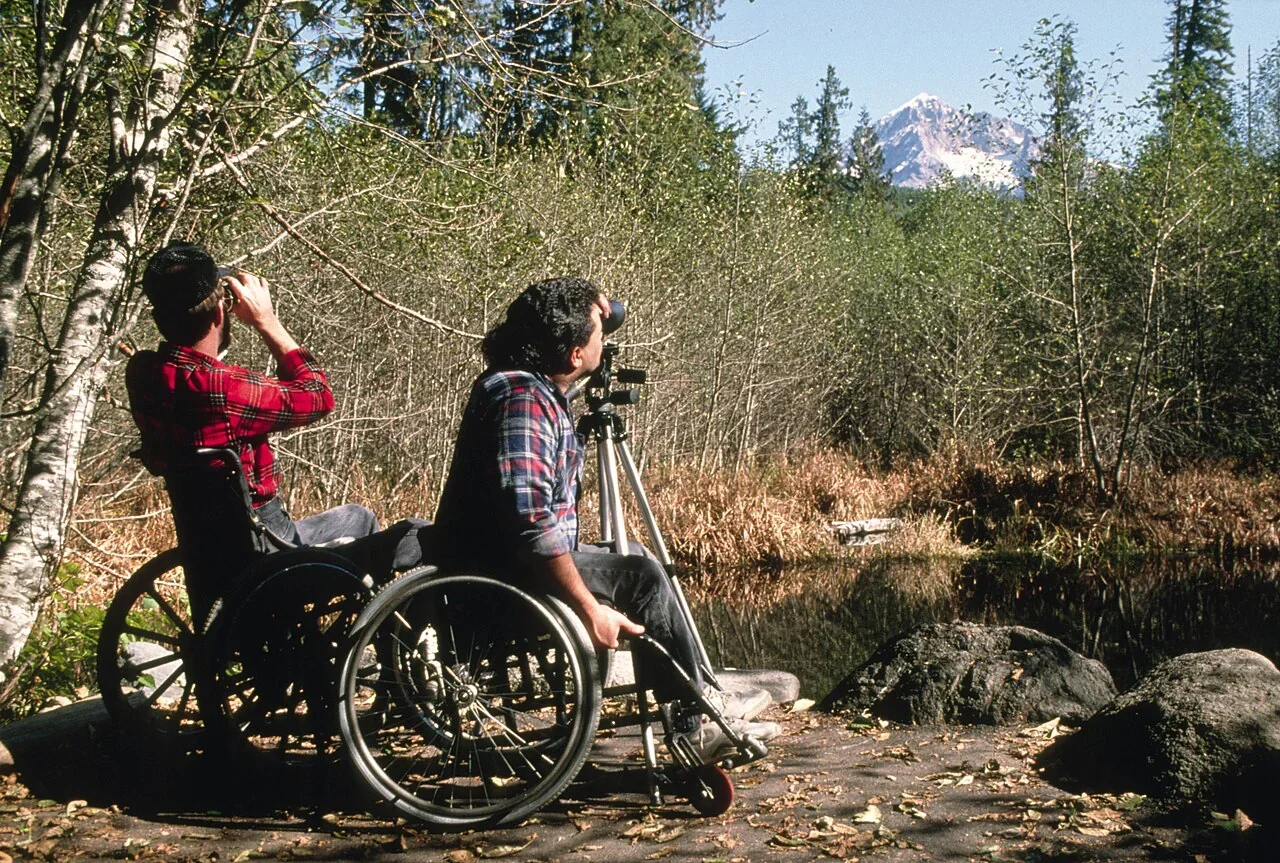
An accessible nature walk starts with an honest description of the route, not a promise that the walk suits everyone. Check the full path, including the approach, surface, slope, crossings, rest points and return journey. Then share what you know and let participants decide whether it fits their needs. A short, well-described walk can be more welcoming than a scenic route whose barriers are discovered only after the group arrives.
Select a route you can describe
Choose a route with a clear start and finish, and determine whether it is a loop or requires retracing the same path. Check the path from the nearest practical arrival point, not just the nature trail itself. Record surface type, known changes in grade, narrow sections, gates, steps, crossings and any places where a walker might have to leave the path. If you cannot verify a detail, say so rather than guessing.
Conditions vary with rain, heat, construction and seasonal growth. A trail that was clear on a previous visit may have soft ground, fallen branches or narrowed edges later. Check with the land manager for current notices and local rules, and make a visit close to the planned date if feasible. A seasonal change can alter both footing and shade.
Plan rest and turnaround options
Identify places to pause before the group sets out. These might include benches, a broad level area or a point with enough room for people to stop without blocking the route. Describe whether seating has a back or arms if you have checked, and whether a participant can use the stopping place without leaving the path. Not every natural area has built seating, so say when rest options are limited.
A simple route plan includes an agreed turnaround point and a way to shorten the outing. For example, a hypothetical walk might follow a firm path to a viewpoint, with a shorter option ending at a shaded clearing. Do not promise shade throughout: trees cool through vegetation, but where that shade falls depends on the site and time. [1]
Share useful details beforehand
Tell participants the distance, expected duration, surface, grade information you have verified, restroom availability, parking or transit options, and whether the group will return to its starting point. Explain what is uncertain. A photograph of a gate or path junction may help people judge whether it is manageable for them. Avoid calling a route “wheelchair accessible” based only on a quick visual impression; relevant dimensions and standards may need local verification.
Offer a contact method for access questions and let participants share only what they want the leader to know. Ask whether anyone needs a slower pace, extra rest time or a clear description of trail features. A group should not assume that one access request tells the whole story of what others need.
Lead at a pace that keeps choices open
At the start, describe the route and agree on how the group will handle pauses, separation and turnaround. Keep the pace comfortable and give people room to choose whether to continue. A leader can point out roots, narrow passages or changes in surface before the group reaches them, but should not touch a participant or mobility device without permission.
For a nature-focused walk, build in ways to notice without requiring everyone to leave the path: observe a canopy, listen for birds, examine leaves collected from the ground where permitted, or pause to watch water. Check site rules before collecting or approaching wildlife. If a participant wants a different way to engage, make room for that choice instead of defining the experience around one activity.
Prepare for changing conditions
Bring the contact details for the site manager and know how the group will respond if the route is closed or conditions change. Follow official local guidance for heat, smoke, water quality and emergencies; a walk leader should not substitute personal judgment for local alerts. If the route passes through a green infrastructure feature such as a rain garden, keep participants on designated paths and explain that stormwater facilities have a water-management function. [2]
After the walk, ask participants which information helped them decide and where the route description missed something. Use that feedback to improve the next invitation. The next practical step is to visit the route, verify the details you plan to publish, and offer those facts so each person can make an informed choice.
Follow the evidence
Primary sources used in this story. Practical examples are illustrative unless a source states otherwise.
Read our editorial standards. Have a correction? Identify the article and relevant source in your feedback to the site owner.