tree day
Guide
How to grow herbs on a windowsill?
Choose herbs to match the light and temperature you actually have, then grow them in separate, well-drained pots. A modest setup and frequent small harvests are more reliable than crowding many plants together.
To grow herbs on a windowsill, start with the window, not the seed packet: note how many hours of direct sun it receives and whether the glass gets very hot or cold. Then choose a few herbs suited to those conditions, give each room for roots and drainage, and harvest lightly once plants are established. The aim is a steady handful for cooking, not a miniature farm squeezed onto a ledge.
Let the window choose the herbs
A bright, sunny window gives many familiar culinary herbs a better chance than a dim one, but light varies by season, orientation, nearby buildings and shade. Watch the sill across an ordinary day. If direct sun is brief, try leafy herbs that tolerate less intense light rather than expecting sun-loving plants to thrive. If the pane becomes scorching, leaves can overheat even when the room feels comfortable.
Temperature matters too. A windowsill may be colder at night or hotter in afternoon sun than the rest of the room. Keep pots away from drafts and avoid letting foliage press against hot or cold glass. Begin with two or three herbs you already use; a small trial shows which plants suit your actual space.
Give roots a pot that can drain
Use pots with drainage holes and a tray that catches runoff. A container without an outlet can leave roots sitting in water, while a very small pot dries quickly and constrains growth. Choose a pot with enough room for the plant's mature roots, and use a suitable potting mix rather than compact garden soil. Soil is a living system whose structure and capacity to hold and drain water affect plant growth; no single mix or container works equally well in every home. [1]
Keep herbs in separate pots when their growth or watering needs differ. This also makes it easier to move a plant to a better spot or replace one that struggles. When using a nursery plant, check whether roots are tightly packed and whether water can move through the mix; repot if the container is clearly too cramped or poorly drained.
Water by checking, not by the calendar
Touch the mix before watering. If the surface is dry but the root zone still feels damp, wait; if the mix is drying through, water until some drains out, then empty the tray. How often that happens depends on pot size, light, temperature and the plant. A fixed schedule can leave one pot soggy and another parched.
Leaves can help you notice trouble, but similar symptoms may have different causes. Persistent wetness, wilting despite damp soil, or a sour smell can point to poor drainage or root stress. Adjust one condition at a time and give the plant a chance to respond. Avoid adding fertilizer automatically: first check the light, drainage and room available to the roots.
Harvest in small, useful amounts
Let a plant establish before taking much from it. Snip a few leafy stems for a meal, leaving plenty of healthy growth behind; frequent modest use can be easier to manage than waiting for a large crop and cutting it back heavily. Learn the growth habit of each herb before trimming, since a plant that branches from its tips differs from one with a central stalk.
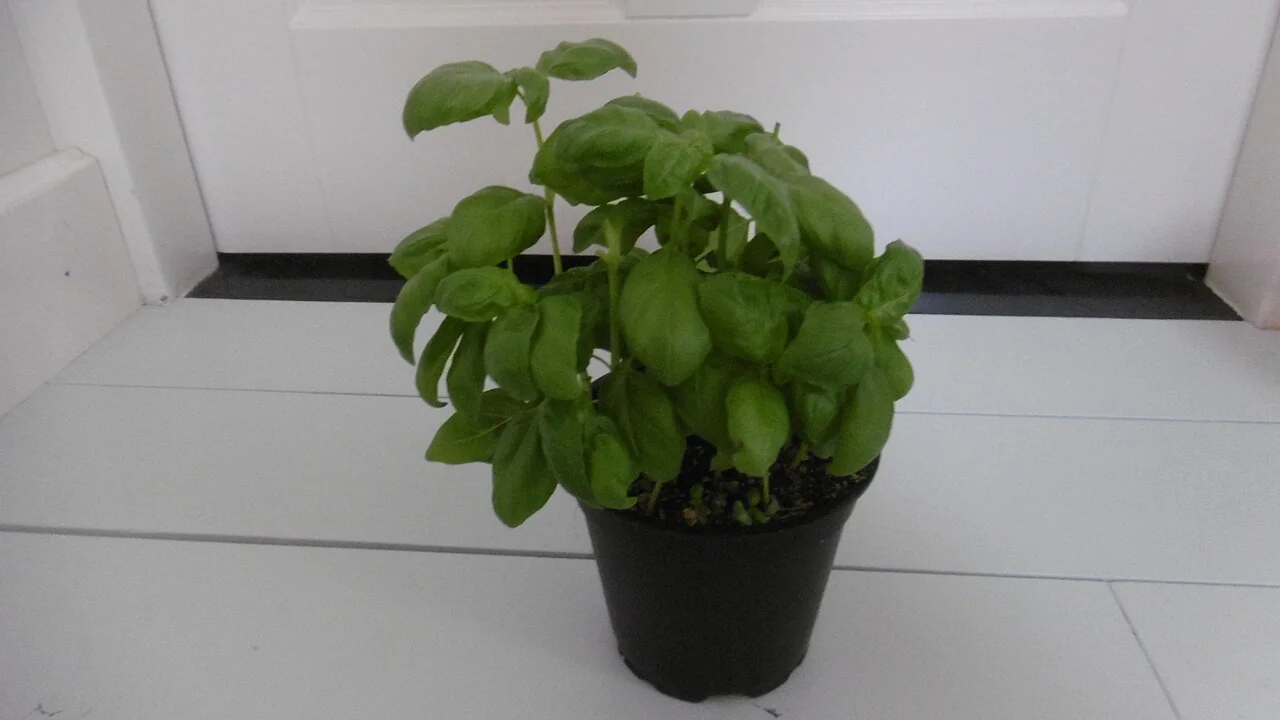
A useful example is a small pot of basil beside a brighter kitchen window. If it grows steadily, pinch a few upper leaves for dinner and use them promptly; if it stretches toward the glass, the plant may need more light. Do not treat stretching as a cue to water more.
Keep the harvest from becoming waste
Plan around what you cook, and harvest only what you expect to use. The EPA recommends buying and preparing food with use in mind because wasted food also wastes resources used to produce and move it. [2] If you trim more than you need, fold the extra into a meal or store it appropriately rather than letting a pile of cut herbs wilt unnoticed.
The common mistake is starting too many pots before learning the room's light and watering pattern. Begin with a few, observe them for several weeks, then add another herb if the first group is healthy and useful.
Follow the evidence
Primary sources used in this story. Practical examples are illustrative unless a source states otherwise.
Read our editorial standards. Have a correction? Identify the article and relevant source in your feedback to the site owner.