tree day
Guide
How to find air leaks in a house?
Find likely leaks by looking for moving air, visible gaps and dust trails around the home’s envelope, then prioritize the locations that affect comfort. Know when a professional assessment is safer than guesswork.
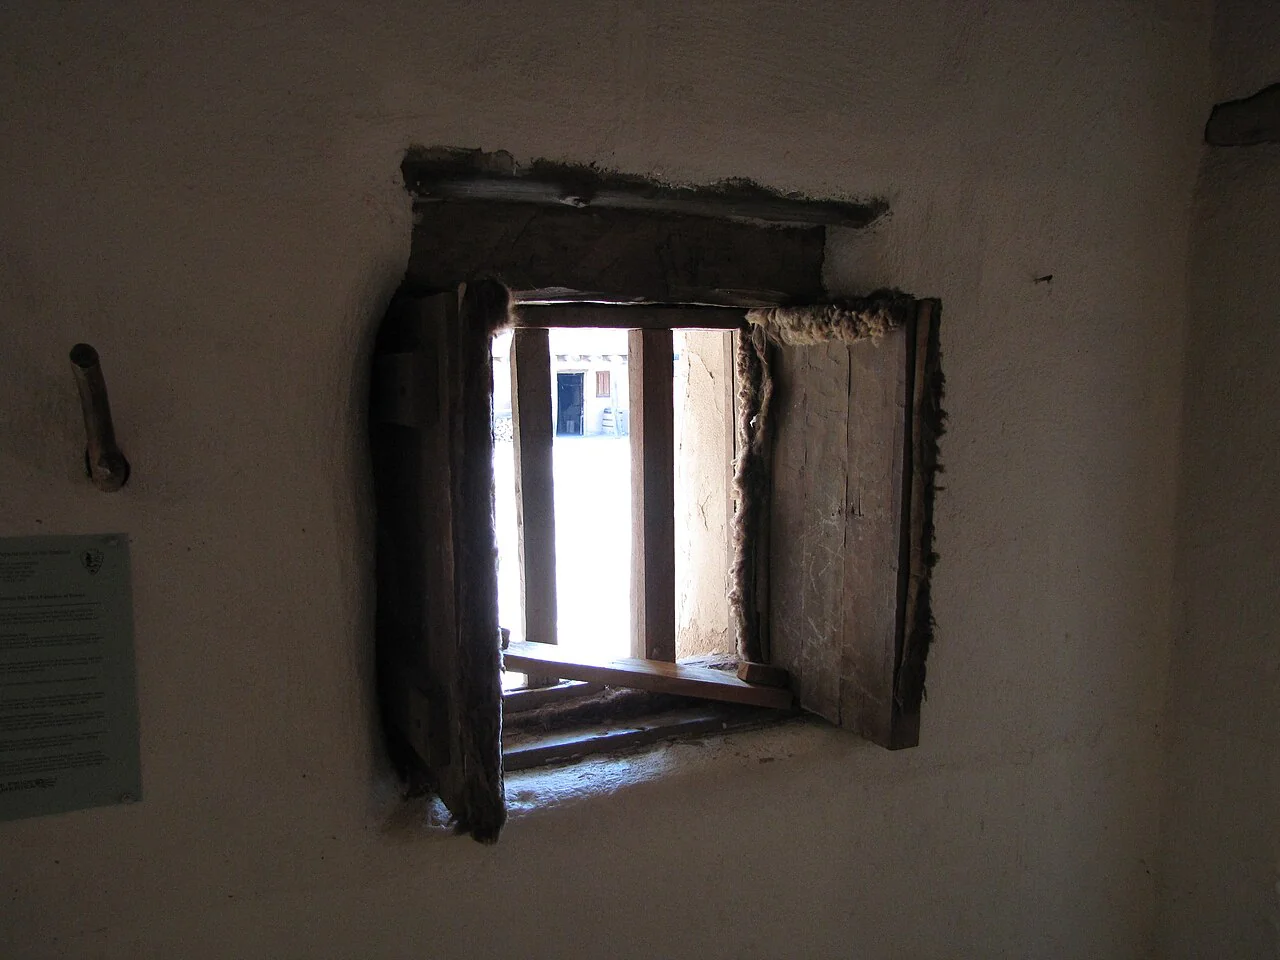
To find air leaks, start where different materials meet: around door and window frames, pipe penetrations, attic hatches and utility openings. On a windy or very cold day, moving air may be noticeable there, but a careful visual check can identify many likely gaps. The aim is to map unintended openings before sealing anything, because some vents are necessary and not every cold spot is an air leak.
Walk the boundary of the home
Think of the home’s envelope as the boundary between indoor and outdoor air: exterior walls, windows, doors, roof and floor edges, plus the openings through them. ENERGY STAR describes leaks through these parts of the envelope as a source of wasted energy and higher utility costs. [1] Walk both the inside and, where accessible and safe, the outside, recording visible gaps rather than trying to fix each one as you go.
Pay attention to places where one surface joins another: trim, baseboards along exterior walls, the edges of an attic hatch, and where pipes or cables pass through. A gap may be harmless, a designed opening, or a route between indoors and an unconditioned space. Its location and purpose matter.
Use simple clues carefully
On a breezy day, hold a narrow strip of tissue near a suspected gap. If it moves repeatedly while nearby areas stay still, air movement is plausible. A hand can feel airflow, and a dust streak or discolored line may indicate a path, but these clues can also be affected by fans, heating equipment, sunlight or pressure differences between rooms.
A hypothetical check might reveal a tissue fluttering near the bottom of a closed exterior door and no movement at the adjacent wall. That makes the door sweep or threshold worth inspecting. It does not tell you whether the whole door is poorly fitted, whether a nearby vent is involved, or which replacement part will fit.
Check common transitions room by room
Inspect window and door edges, baseboards on exterior walls, electrical or plumbing penetrations, fireplace dampers when unused, and openings to attics or crawlspaces. For an attic hatch, look for a visible gap around its frame; for a pipe penetration, note whether the opening connects to outdoors or an unconditioned cavity. Do not remove covers or disturb equipment to investigate.
A room-by-room list helps distinguish a single draft from a pattern. Mark the room, suspected location, weather and whether heating or cooling was running. If several gaps appear around the attic boundary, the issue may be broader than one door. ENERGY STAR lists attic air sealing and sealing behind window and door trim among common improvement projects. [1]
Know when a leak test is useful
A professional home energy assessment can investigate leakage that is hidden or hard to locate. ENERGY STAR describes assessment followed by work with a home energy expert to target projects for comfort and savings. [2] A qualified assessor may use diagnostic equipment to estimate how much air leaks through the envelope and help locate paths. That can be useful before substantial sealing or insulation work.
Avoid relying on a single dramatic draft as a measure of the whole house. Wind direction, exhaust fans and temperature differences can shift air movement from one moment to another. A test provides a more systematic picture, while visual inspection still helps you describe the places that bother you most.
Mark it before sealing it
Do not seal openings until you know whether they are intended for ventilation, drainage or safe operation of an appliance. In particular, leave combustion air openings and required vents alone unless a qualified professional confirms a change is appropriate. Moisture and indoor air quality also depend on how a building exchanges air, so aggressive sealing may call for a ventilation plan.
Once the suspect spots are mapped, sort them into visible unintended gaps, uncertain openings and larger patterns that merit professional review. Begin with an obvious, low-risk gap such as a worn door seal if you can match the repair to the door. If comfort remains poor or the leak seems concealed, arrange an assessment rather than filling cavities blindly.
Follow the evidence
Primary sources used in this story. Practical examples are illustrative unless a source states otherwise.
Read our editorial standards. Have a correction? Identify the article and relevant source in your feedback to the site owner.