tree day
Guide
How to plant a tree?
A healthy planting starts with matching the tree to its site, preserving its roots and setting the trunk flare at ground level. Here is a practical sequence for choosing, planting and caring for a young tree.
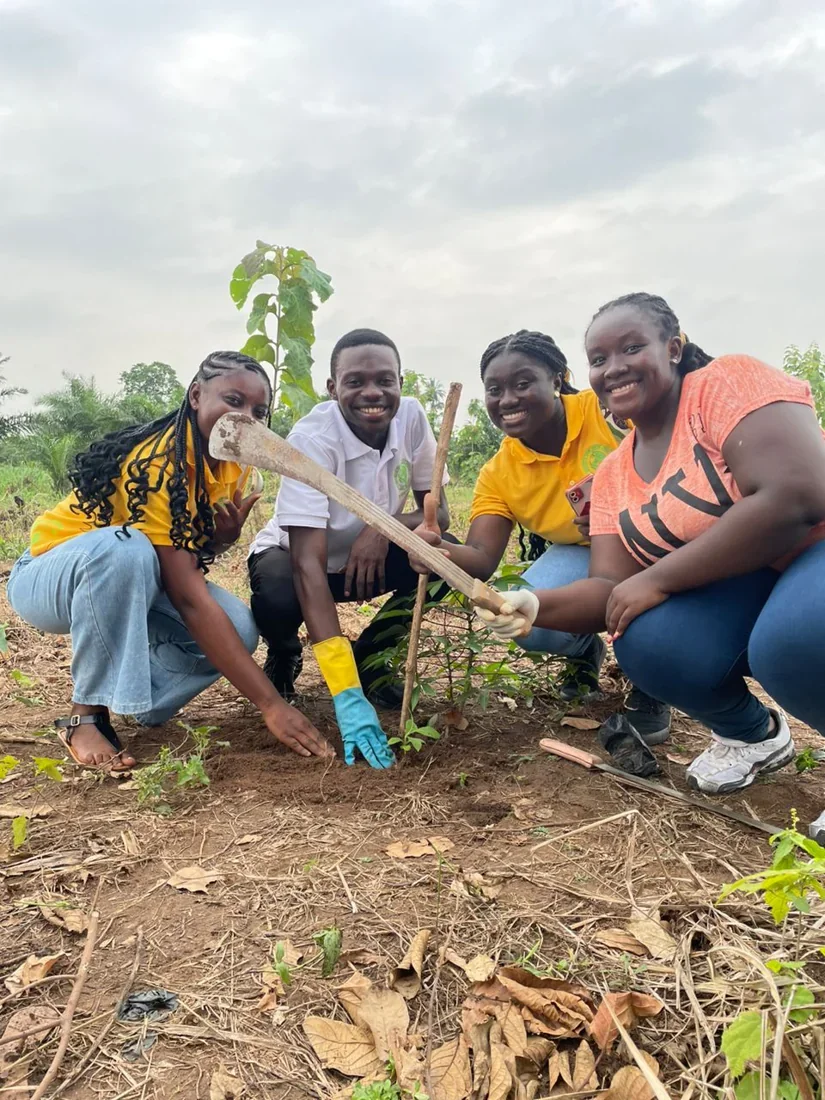
Plant the right tree for the space, set its root flare at the soil surface, and keep the root zone moist while it establishes. Before digging, check the mature size, sunlight and soil conditions, and locate underground utilities. A little site planning prevents common problems: a tree that outgrows its spot, roots crowded in a narrow hole, or a trunk buried too deeply.
Choose for the place it will occupy
Start with the job you want the tree to do—shade, screening, habitat or a windbreak—then check whether the site can support it as it matures. Consider available height and canopy spread, sunlight, soil moisture and texture, exposure to wind and road salt, and nearby buildings or pavement. The Arbor Day Foundation stresses selecting a tree that fits its eventual space and conditions. [1]
For example, a small sunny yard with a low overhead line calls for a different choice than a broad lawn intended for afternoon shade. Check local species guidance and mature dimensions before buying; the New York DEC also recommends evaluating site limits and the tree’s purpose first. [2]
Prepare the tree and hole
Keep roots protected from drying between purchase and planting. Bare-root stock should be planted promptly; remove packing, soak the roots as directed for that stock, and spread them naturally in a hole wider than their reach. The Arbor Day Foundation describes soaking bare roots for three to six hours and making room for them to extend outward. [3]
For a container tree, slide it out only after the hole is ready. Examine the outside of the root ball and gently loosen or cut encircling roots so they can grow outward; DEC cautions that spiral roots left in place can cause later harm. [2]
Dig to the depth of the root system or root ball, not deeper. Firm soil beneath the tree helps prevent settling. Before excavation, use the applicable local utility-location service and follow its marking process.
Set the flare at the soil line
Find the trunk flare: the widening at the base where the first main roots begin. Position it at finished ground level, adjusting the hole if needed. DEC identifies the trunk flare as the point where roots begin branching from the trunk and says it should sit at the soil line. [2]
Backfill with the soil removed from the hole, working it gently around the roots. Water as you fill to settle soil and reduce large air pockets, then tamp lightly rather than compacting it hard. With balled-and-burlapped stock, remove twine, wrap and wire basket as directed while disturbing the root ball as little as possible. [2]
Water and mulch without smothering
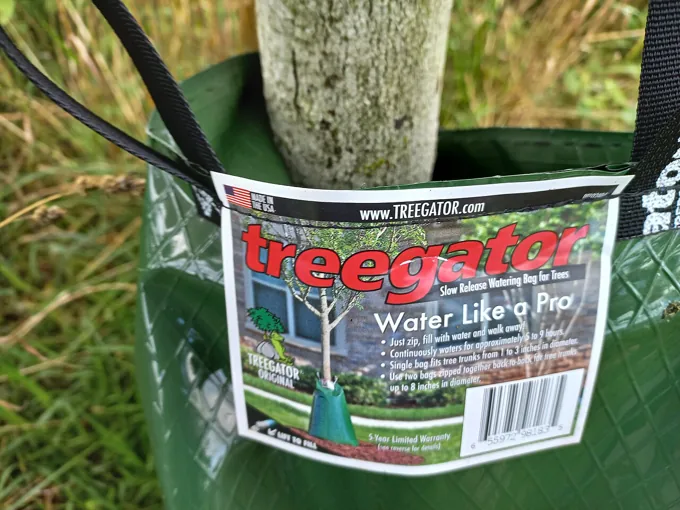
Water thoroughly after planting, then pay attention to moisture in the root zone. New roots need access to water, but waterlogged soil can also cause trouble. Exact frequency depends on rainfall, soil drainage, climate and species, so check beneath the mulch rather than relying on a calendar. [1]
Apply a layer of organic mulch over the root area, leaving a clear gap around the trunk and flare. DEC recommends two to four inches of mulch at least as wide as the crown; the Arbor Day Foundation likewise advises keeping mulch off the trunk. [2] [1] A wide, shallow ring helps conserve moisture and reduce grass competition without creating a damp pile against bark.
A first-week example and next step
Imagine planting a small container-grown tree in a sunny front yard. First check its mature canopy and the site’s soil and utilities; loosen any circling roots; dig a broad hole no deeper than the root ball; set the flare at grade; backfill and water; then mulch while keeping the trunk clear. In the following days, check the soil below the mulch and water when that root zone is drying, accounting for rain and drainage.
A frequent mistake is adding fertilizer or rich amendments automatically. DEC says first-year fertilizing is unnecessary, and the Arbor Day Foundation’s bare-root guidance advises against fertilizer and potting soil at planting. [2] [3] Your next step is to identify the planting spot’s sun, soil and mature-space limits, then choose a locally suitable tree before digging.
Follow the evidence
Primary sources used in this story. Practical examples are illustrative unless a source states otherwise.
- Arbor Day Foundation: Tree care and maintenance ↗
- New York DEC: How to plant a tree ↗
- Arbor Day Foundation: Planting bare-root trees ↗
Read our editorial standards. Have a correction? Identify the article and relevant source in your feedback to the site owner.