tree day
Guide
Why does my compost smell?
A bad smell usually means the pile is too wet, compacted or short on air. Add dry browns, turn the materials to introduce oxygen, and cover fresh food scraps so the pile can recover.
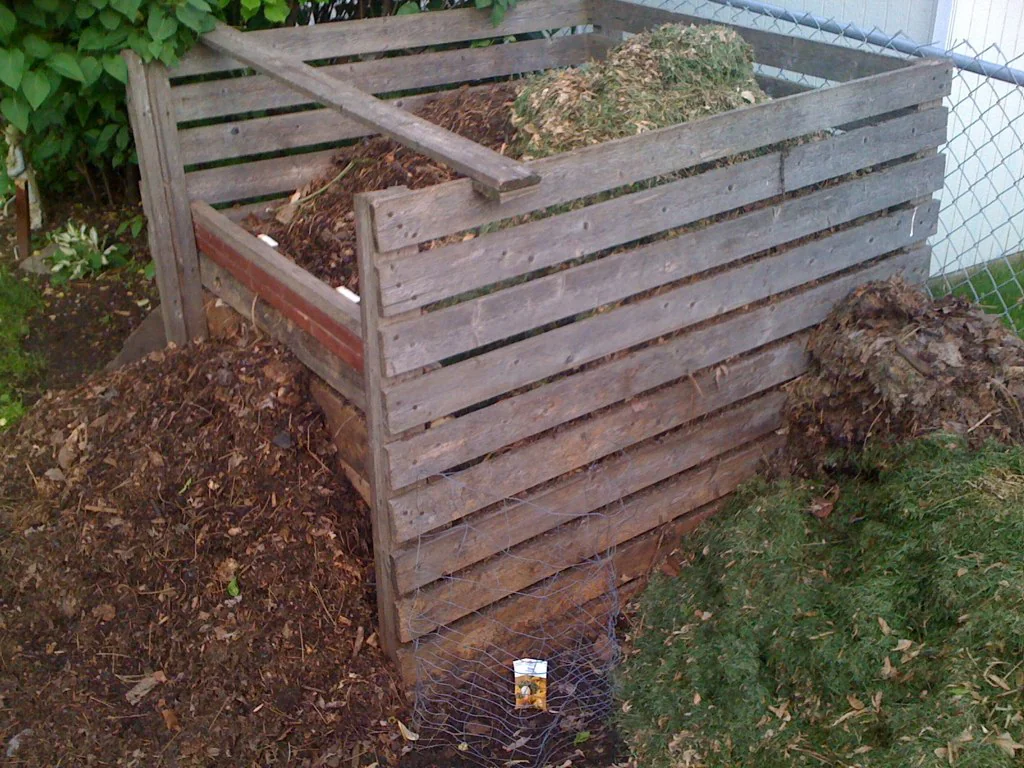
If your compost smells rotten or sour, it is often too wet or short on air. Add dry leaves or another suitable brown, turn the pile to loosen and aerate it, and bury exposed food scraps. A healthy compost pile needs oxygen and moisture; monitoring odor and adjusting those conditions is part of ordinary maintenance.[1]
Read the smell as a condition signal
Composting is an aerobic process: microorganisms break down organic material while using oxygen, water and nutrients.[1] When a pile becomes waterlogged or compacted, air cannot move through it as readily. The result can be a strong unpleasant smell. Smell is a prompt to inspect the pile, not a precise diagnosis of every problem.
Check whether the material is soggy, compressed or dominated by food scraps. A pile that feels slimy or has standing water needs a different response from one that is merely earthy. Rain, the bin design and the materials added all affect moisture, so there is no single watering routine that prevents odor in every yard.
Add browns to absorb excess moisture
Dry leaves, small twigs, untreated wood chips and shredded non-glossy paper can help balance wet greens. EPA guidance recommends at least two to three parts browns by volume for each part greens in a backyard pile.[1] Add a generous amount of dry material to a smelly pile rather than tossing in more food scraps.
Mix the new browns through the wet areas, not just across the surface. A bulky bottom layer can also help absorb extra liquid and allow air to circulate at the base of a pile.[1] If you have no leaves, keep a reserve of other accepted browns such as suitable shredded paper or cardboard.
Turn carefully to restore airflow
Use a garden fork or similar tool to turn and loosen the pile, bringing material from the outside inward. Mixing helps aerate the contents and gives microorganisms oxygen.[1] You do not need to turn on a fixed schedule; turn when the material is compacted, smells bad or needs moisture and browns distributed through it.
After mixing, check the texture. The target is roughly like a wrung-out sponge: damp but not dripping.[1] If it remains waterlogged, add more dry material and make sure the bin or pile drains. If it has become too dry after the correction, add a little water while mixing.
Prevent the same problem next time
Cover food scraps with several inches of browns each time you add them. The EPA recommends four to eight inches of dry leaves or other browns over food scraps in a backyard pile.[1] This habit limits exposed food, helps manage moisture and can reduce pest attraction. Also avoid adding meat, dairy and fats to a typical backyard pile, as these can attract animals and may not fully decompose under backyard conditions.[1]
A simple routine is to keep a dry-material container beside the kitchen scrap bin and add the cover immediately. If scraps pile up faster than you can cover them, pause additions until the pile has been corrected and you have browns ready.
Give the correction time to work
Odor may not disappear the moment you turn the pile; damp material can take time to regain airflow and break down. Check again after the pile has settled. If the odor returns, inspect for water entering the bin, a compacted layer or repeated uncovered additions. Adjust the underlying condition rather than masking the smell with fragrance or adding random materials.
Your next step is to open the pile, add dry browns and turn it once. Then keep a small reserve of browns nearby so the next bucket of scraps can be covered as soon as it goes in.
Follow the evidence
Primary sources used in this story. Practical examples are illustrative unless a source states otherwise.
Read our editorial standards. Have a correction? Identify the article and relevant source in your feedback to the site owner.