tree day
Guide
How to start composting?
Start with a container or pile, a supply of dry leaves or other browns, and a small stream of suitable food scraps. Keep the mix airy and as damp as a wrung-out sponge, then adjust when it smells or dries out.
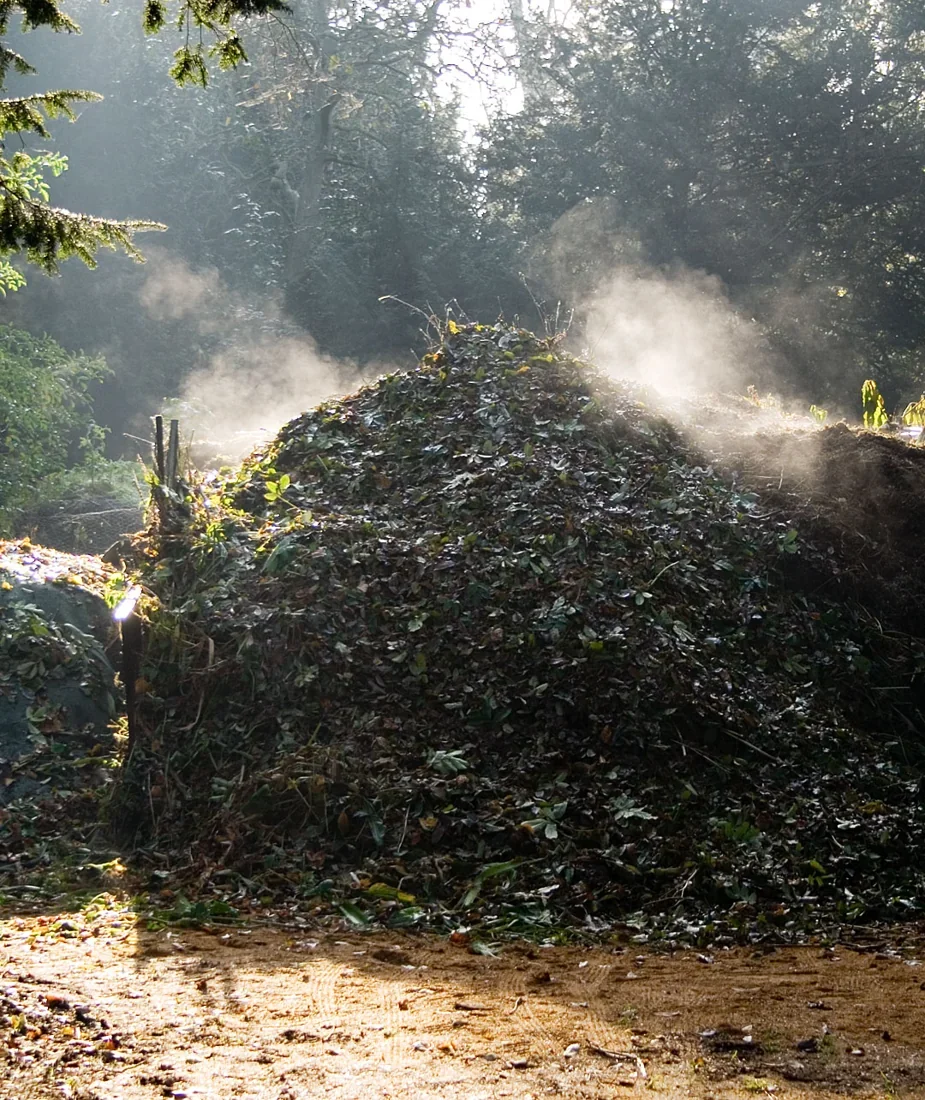
To start composting at home, set aside a bin or pile, save dry leaves or other browns, and add fruit and vegetable scraps in small batches. Cover each addition with dry material, keep the mix damp rather than soggy, and give it air. Composting is managed decomposition that uses microorganisms, oxygen, moisture and a balance of carbon-rich and nitrogen-rich materials.[1]
Choose a system that fits your home
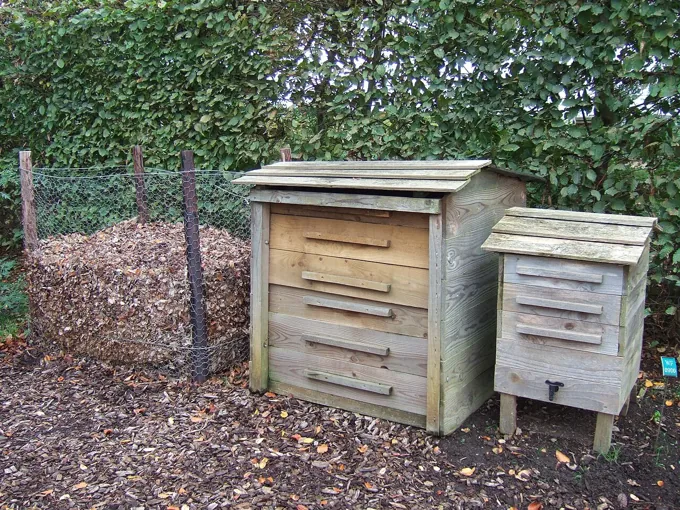
A backyard pile or bin works if you have an accessible spot with drainage and room to store dry material. A bin can be made or bought; the pile can break down in sun or shade, so convenience and access matter more than choosing one perfect exposure.[1] If outdoor space is not practical, consider whether a local collection or community composting program accepts household scraps. Rules and accepted materials vary by program, so check before setting aside items.
Worm composting is another option for a smaller space, including indoors. It uses a lidded container, bedding and suitable worms, and calls for different feeding and care than a backyard pile.[1] Pick one method you can maintain. A simple system near the kitchen or garden is easier to use than an elaborate one that makes scraps inconvenient to carry.
Build a dry-material habit first
The common beginner problem is having food scraps but nothing dry to balance them. Set aside a supply of leaves, small twigs, untreated wood chips or shredded non-glossy paper. The EPA recommends starting a backyard pile with a bulky layer of browns, then layering greens and browns; it also advises using at least two to three parts browns by volume to one part greens.[1]
Think of dry material as both an ingredient and a cover. When you add kitchen scraps, bury or cover them with several inches of browns. This helps keep food out of sight, supports airflow and reduces the chance that the pile attracts pests.[1] If you have no leaves, shredded cardboard without wax, tape or glue can help, provided it is suitable for the system you use.
Feed the pile in manageable batches
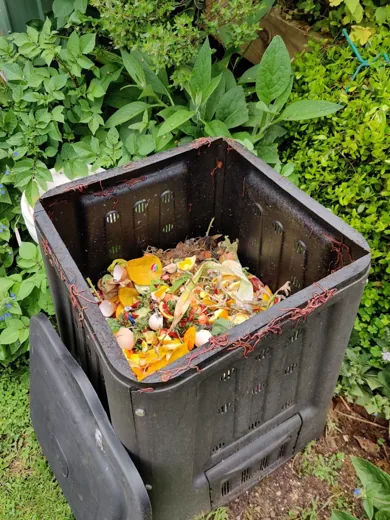
Fruit and vegetable scraps, coffee grounds with paper filters, crushed eggshells and plant trimmings are common backyard ingredients. Smaller pieces have more exposed surface and can break down faster, so chop tough scraps if convenient.[1] There is no need to prepare every peel meticulously; the useful habit is to add scraps regularly and cover them.
Keep meat, fish, bones, dairy, fats and greasy foods out of a typical backyard pile: they can attract animals and often do not decompose fully under backyard conditions. The EPA notes that some such materials may be accepted by commercial facilities, so check the specific program rather than assuming “compostable” means suitable at home.[1]
Use smell and moisture as feedback
The pile should feel like a wrung-out sponge. If it is dusty or dry, add water and mix; if it is wet or smells bad, add dry browns and turn it to restore air circulation.[1] This is more useful than following a fixed watering schedule, since rainfall, the container and the materials all affect moisture.
Turning occasionally introduces air and mixes outer material toward the center. You do not need to turn on a rigid calendar. Notice whether the pile is compacted, soggy or inactive and respond to what you see. A covered bin with food scraps buried inside can also help discourage rodents; the EPA recommends a secure lid and managing gaps in the bin.[1]
Give the first batch time to finish
A working pile shrinks as materials decompose. The EPA says a well-maintained pile may be ready in about three to five months, while an untended one can take a year; when the pile no longer heats after mixing and visible food scraps have disappeared, it recommends at least four weeks of curing.[1] Timing depends on management and materials, so use appearance and smell as well as the calendar.
Finished compost is generally dark, loose and crumbly, with an earthy smell. Start by adding it to a garden bed or container as a soil amendment, keeping it away from stems and trunks when used as surface material.[1] Your next step is modest: choose a system, collect a dry-material reserve and begin with a small batch of scraps.
Follow the evidence
Primary sources used in this story. Practical examples are illustrative unless a source states otherwise.
Read our editorial standards. Have a correction? Identify the article and relevant source in your feedback to the site owner.