tree day
Guide
How to start a vegetable garden?
Start a vegetable garden by matching a small planting area to your light, water access, soil and preferred crops. A manageable first bed teaches more than a large layout built around assumptions.
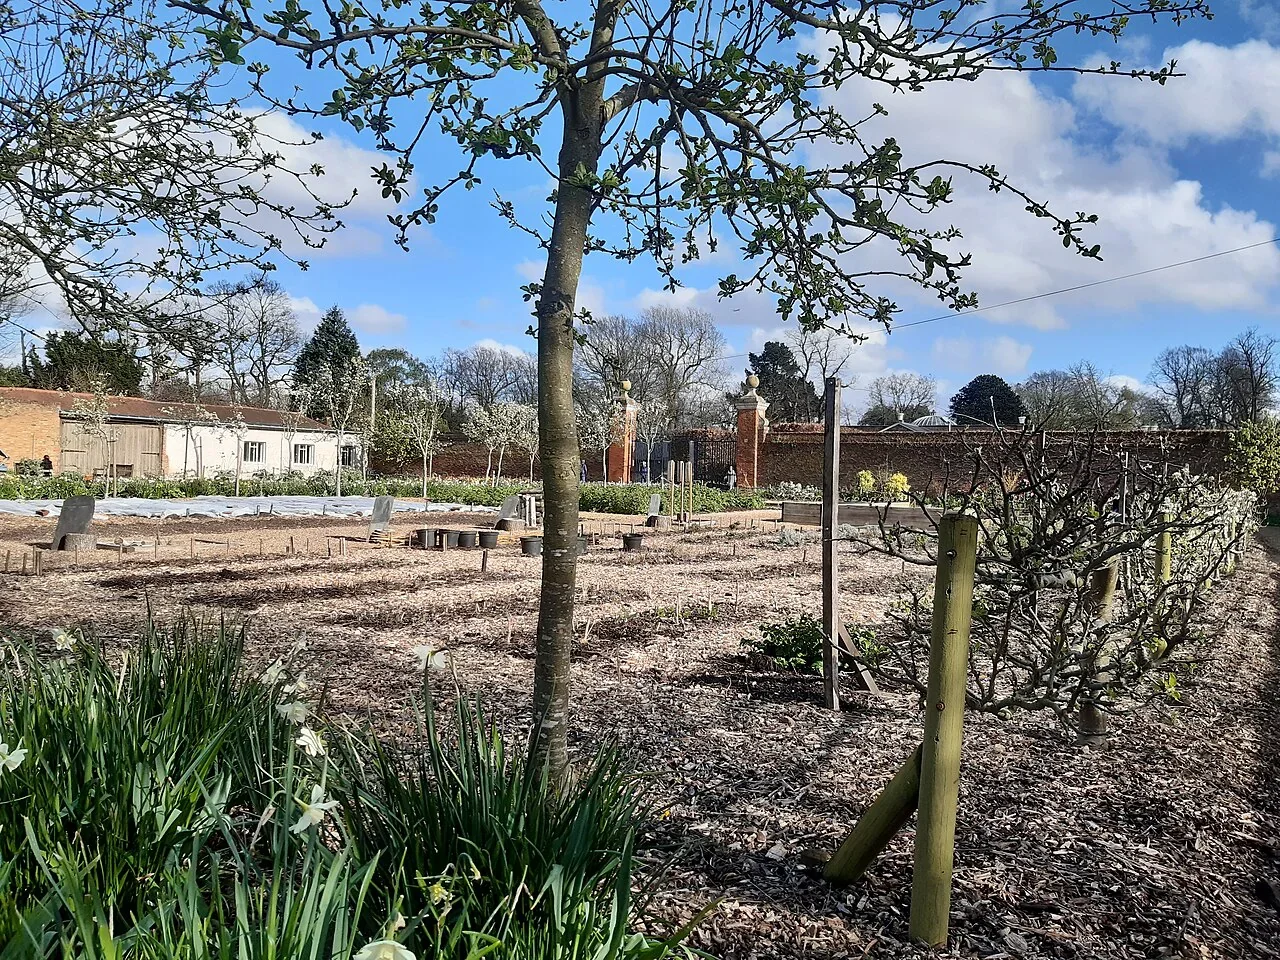
Start a vegetable garden with one small area that receives enough light for the crops you want and is easy to reach with water. Then choose a few vegetables suited to your season and local conditions, prepare the soil, and leave room to care for them. A modest first bed makes it easier to notice how sun, drainage and watering affect growth before investing in a larger garden.
Choose the site before the crops
Observe the candidate space at different times of day. Buildings, fences and trees cast changing shade, while reflected heat and wind can make a spot harsher than it first appears. Select crops only after you understand the light and the growing season where you live; seed packets and local extension guidance can help translate those conditions into planting choices.
Water access is also a design question. A bed near a hose or a reliable water source is easier to maintain, but the soil should drain rather than remain persistently soggy. EPA WaterSense advises considering when and how much to water to avoid wasteful runoff and keep a landscape healthy. In a vegetable garden, check soil moisture and plant needs rather than relying on a fixed universal schedule. [2]
Make the first plot manageable
A beginner often benefits from a bed small enough to reach across without stepping on the growing soil. The exact dimensions depend on the space and gardener; the principle is to make planting, weeding and harvesting convenient. A few crops grown well can teach you more than many rows that are difficult to water or tend.
Before digging, check for buried utilities through the appropriate local locating service. Remove surface weeds and debris, and assess whether the soil drains and crumbles or is compacted and sticky. If the site has contamination concerns or a history you do not understand, use local public health or extension guidance before growing food there rather than assuming a layer of compost solves it.
Build soil around the crop
Healthy soil supports roots, water movement and nutrient availability. Finished compost can add organic matter and help soil retain moisture and nutrients. EPA describes compost as a soil amendment and lists vegetable beds among its uses. The amount and method should fit the existing soil and crop; adding more is not automatically better. [1]
A practical example: for a small bed intended for leafy greens and a few herbs, the gardener could loosen compacted topsoil without turning the whole profile, remove persistent weeds, and blend in finished compost if the soil needs organic matter. Then plant only what fits the space. Avoid fresh manure or unfinished compost near edible crops unless you have reliable local guidance on safe handling.
Plan a simple first season
Choose crops you like to eat and that suit your local planting window. A short list might include one quick-growing crop, one longer-season crop and a herb, but the specific varieties should come from regional planting advice. Planting everything at once can create more harvest than a household can use; staggered sowing, where suitable, can spread the work and harvest.
Leave room for plants at mature size and for access between rows or containers. Crowding can reduce airflow and make watering, inspection and harvesting harder. Keep notes on planting dates, shade, rain and which crops were worth the effort. These observations will help you adjust next season more reliably than a generic garden diagram.
Water, mulch and notice problems
Water at the soil rather than repeatedly wetting leaves when practical, and check moisture beneath the surface. Heat, wind, soil texture, container size and plant stage change how quickly a bed dries, so a calendar schedule can mislead. A surface mulch may help cover bare soil, but keep it away from tender stems and avoid assuming that mulch removes the need to check moisture. [2]
Inspect plants regularly for stress, pests and weeds while problems are still small. If you add flowers for pollinators, choose species suited to your region; the Fish and Wildlife Service notes that native pollinator gardens are one way people can help pollinators and their habitat. [3] Your next choice is a crop list and a site you can visit easily: start small, learn what the local conditions allow, and expand after one season of observation.
Follow the evidence
Primary sources used in this story. Practical examples are illustrative unless a source states otherwise.
- US EPA: Composting at home ↗
- US EPA WaterSense: Outdoors ↗
- US Fish and Wildlife Service: Pollinators ↗
Read our editorial standards. Have a correction? Identify the article and relevant source in your feedback to the site owner.