tree day
Guide
How to plan a school garden?
A school garden is easier to sustain when its size, access, watering and care fit the school day. Start with a small, reachable growing area, decide who maintains it during breaks, and choose plants for local conditions.
Plan a school garden around the people who will use it and the days they can reach it. A sunny bed that nobody can water during a holiday is a harder starting point than a modest container garden beside a regularly used door. Before buying seeds or building beds, map the site, agree on who does which jobs, and choose a first season small enough to maintain through class changes and breaks.
Start with the school’s calendar
List the weeks when students can work in the garden and the periods when the site may be unattended. A school-year calendar shapes what can be planted, harvested and maintained. Ask who will water during weekends and longer breaks, who can access a hose, and who has authority to approve changes to the grounds. A garden should not depend on one enthusiastic person being available every week; give responsibilities to named roles such as a class, staff member or volunteer team.
Then decide what learning purpose the garden serves. A small herb bed can support observation and cooking lessons; a pollinator patch can invite careful watching; a vegetable plot can connect planting with harvest. These uses have different maintenance needs. The U.S. Fish and Wildlife Service notes that native pollinator gardens can be one way to help pollinators and habitat. [3] If that is the goal, select plants appropriate to the local region rather than treating any attractive flower mix as a fit.
Choose a site by access and conditions
Walk the grounds at different times of day. Note sun and shade, wind exposure, drainage, nearby water, walking routes and whether children can reach the space without blocking school activities. Look for a location staff can supervise and maintain. If planting in the ground, check school procedures for identifying existing utilities before any digging; contact the relevant local utility-location service as required. Also ask facilities staff about buried lines, irrigation and site history.
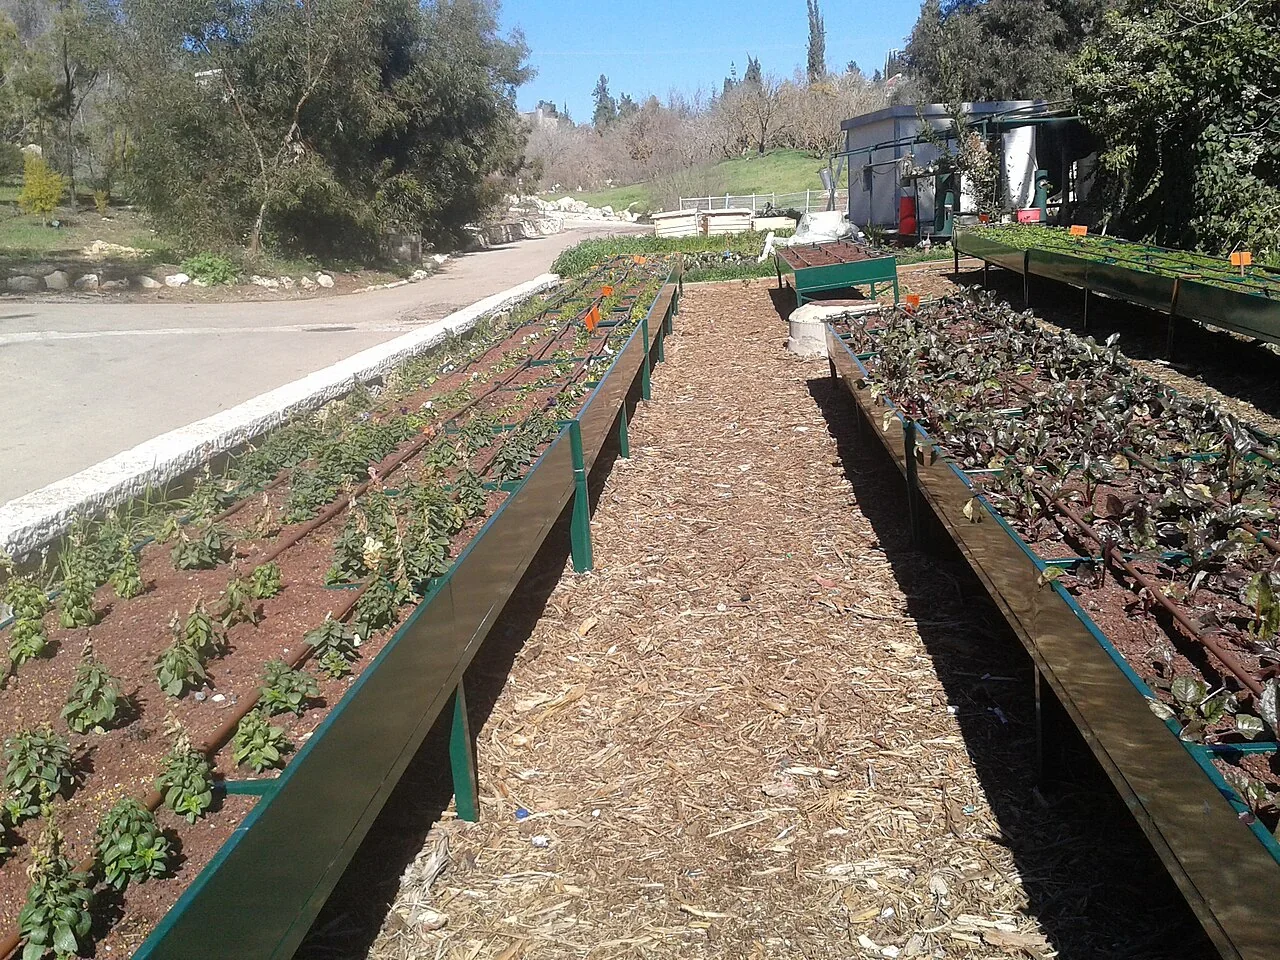
A raised bed or group of containers can make a trial easier to define, but it is not automatically the right choice. Beds need a stable, accessible location and suitable soil or growing medium. Containers can dry faster than in-ground beds and may need closer attention, especially in exposed places. EPA WaterSense guidance emphasizes designing for local conditions and learning when and how much to water rather than allowing runoff. [2] For a school, convenient access to water and a responsible watering plan are part of site selection, not details to solve after planting.
Make the first season deliberately small
Choose a scale that a class can care for during an ordinary week. For example, a hypothetical school might begin with two modest beds: one for a few locally suitable edible plants, and one for flowers selected to support local pollinators. The class could record planting dates, growth and visits by insects, while a staff member coordinates watering. This is more manageable than planting every available corner, and it creates room to learn whether the site, schedule and tasks work.
Pick plants according to climate, season, light, soil and the school’s capacity to care for them. Do not choose solely from a packet illustration. Ask a local extension service or native-plant resource about regional options, planting windows and soil needs. Keep some space for paths and access, and avoid a layout that requires students to step into beds to weed or harvest. The best first planting is one whose needs fit the time and conditions you actually have.
Plan water, soil and care together
Write a short maintenance plan before the first planting. It can name who checks moisture, who refills tools, how weeds are handled and what happens when school is closed. Watering depends on weather, plant type, soil, container size and establishment, so a fixed universal schedule can mislead. Teach students to check the soil and plant rather than automatically watering every bed. Make sure the water source is safe and accessible under school policy.
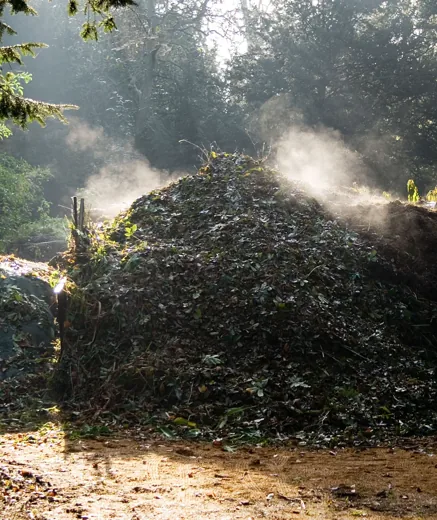
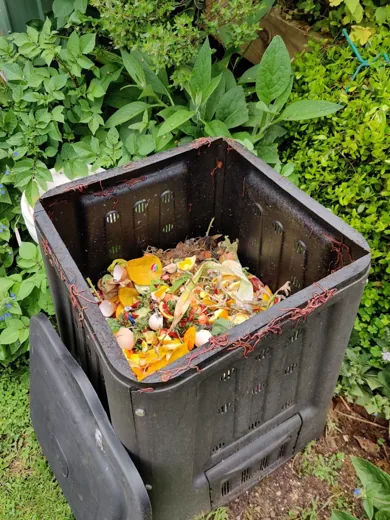
Compost can be useful for building soil health, but it is not a shortcut that removes the need to understand the bed. EPA describes composting as managed decomposition requiring oxygen and identifies finished compost as a soil amendment. [1] If the school makes compost, assign a responsible adult to oversee materials and hygiene, and follow local guidance on what can be collected. If finished compost is brought in, use it for an appropriate purpose and avoid assuming that all compost is suitable for every seed or container.
Agree on ownership before the first harvest
A garden becomes more durable when students and staff know what they can decide and who handles problems. Set simple rules for tool use, harvesting, watering and leaving paths clear. Decide how the garden will be cared for when a class changes or a champion leaves. A small committee with students, a staff contact and facilities input can review the plan each term and adjust planting to the season and available time.
Make the next step a site walk with one staff member and a small group of students. Mark the sunniest reachable area, identify water access and check school procedures for digging or containers. Then choose one learning purpose and one small planting area. That first season will tell you more about the garden’s real demands than a large design made before anyone has tested the schedule.
Follow the evidence
Primary sources used in this story. Practical examples are illustrative unless a source states otherwise.
- US EPA: Composting at home ↗
- US EPA WaterSense: Outdoors ↗
- US Fish and Wildlife Service: Pollinators ↗
Read our editorial standards. Have a correction? Identify the article and relevant source in your feedback to the site owner.